We open with a clear plan so you can act with confidence. First, we show a quick evaluation method for your mattress and the exact size and location of a hole or rip. This sets expectations for the rest of the instructions.
Next, we preview the materials and steps we’ll use, from heavy-duty needles and upholstery thread to compatible patches and foam-safe adhesives. We note cure time for adhesives and safe handling when covers expose inner layers.
For different mattress types we outline tailored techniques — sewing small tears, foam patching, and locating leaks in air beds. We also explain testing for comfort and support after a fix, and when professional help is smarter than a DIY attempt.
Finally, we share practical tips for neat, durable results and routine checks that extend life and preserve comfort. Follow this guide and you’ll know what to try, what to avoid, and how to proceed safely.
Why we repair mattress fabric at home and what to expect today
We start by explaining when a home fix makes sense and what realistic results look like.
Small holes and shallow tears are often worth fixing. If a bed shows wide structural damage or is near its end, replacement may be the smarter choice.
Expect to find the exact area of damage, gather a heavy‑duty needle and strong thread, a patch kit, and an adhesive rated for foam or vinyl. Allow glue ample cure time before reuse; rushing a bond is the most common cause of failure.
After the work, test support and comfort at key pressure points like hips and shoulders. A neat DIY can extend use and restore good sleep, but severe internal damage may still need pro attention.
- We weigh damage, age, and cost against benefits of replacement.
- We cover typical wear tear: scuffs, seam splits, and edge frays.
- We note that air beds can feel soft from temperature changes, not just punctures.
- We recommend a mattress protector to reduce future issues.
Assessing if a repair makes sense before we start
We begin by assessing size and placement so our efforts match the true scope of damage.
First, measure the opening and note if it sits on an edge, seam, or a high-pressure zone like the hip area. Small punctures and short edge tears are usually simple fixes, while long or multiple tears often mean deeper issues.
Next, consider type. Innerspring and hybrid cores react well to stitched seams, while memory foam needs a cut-and-fit patch and foam-safe adhesive for minor surface defects. Major interior damage often calls for professional help.
- Check age and overall wear; years of sag lower the value of localized work.
- Inspect the cover label for fiberglass warnings; with a ripped mattress cover, avoid peeling it back if fibers are listed.
- Mark the exact spot, note size, and protect the area with a drop cloth when fibers or dust are possible.
| Type | Common Damage | Repair Viability | Notes |
|---|---|---|---|
| Innerspring | Seam splits, edge frays | High | Stitching often restores cover and look |
| Memory | Surface cuts, foam tears | Medium | Use foam patching; preserve contour |
| Air/Flocked | Punctures, flock wear | Variable | Patch vinyl carefully; watch adhesives |
Make a clear go/no-go call now so our materials and time are not wasted. These tips keep repairs practical and safe.
Materials, tools, and kits we recommend for reliable repairs
We list essential materials and a compact kit so your project starts with the right supplies.
Core supplies for stitch and patch work
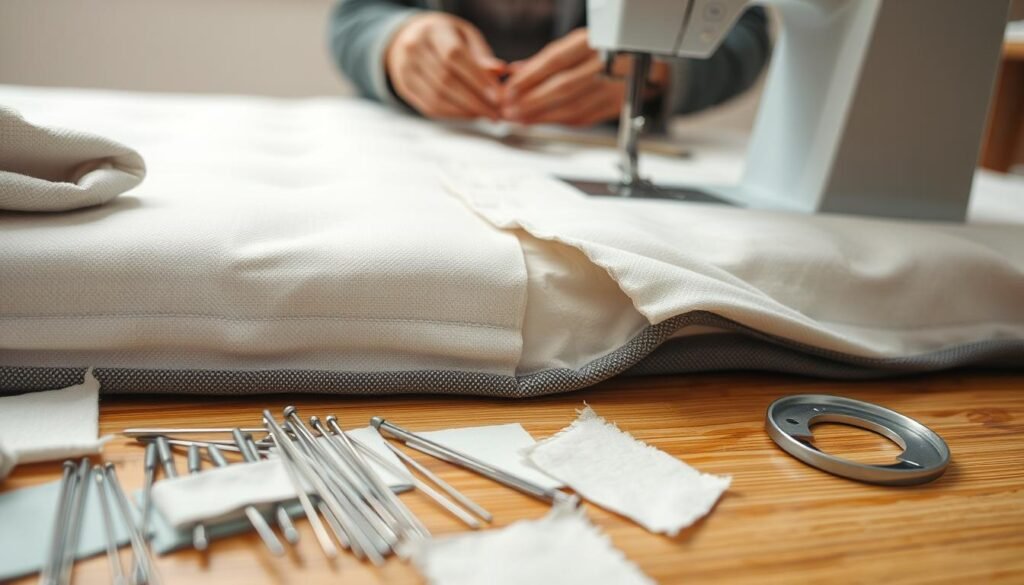
Bring a heavy-duty needle and strong upholstery thread for seams and edge repairs. Add a fabric patch cut from similar material and a compatible adhesive for holes.

Helpful extras that make the job easier
- Curved needle for tight seams or corners.
- Foam-safe adhesive for memory foam layers.
- A ready patch kit for quick vinyl fixes.
- Pliers for managing springs, staples, or wire.
- Isopropyl alcohol to clean and degrease before bonding.
What we avoid and why
We do not use bicycle repair kits on vinyl air beds. Their rubber cement and patches often fail on PVC. For flocked sides, light sanding exposes the smooth vinyl so adhesives will stick.
| Item | Use | When essential |
|---|---|---|
| Heavy-duty needle | Stitch seams and small tears | All mattress types with sewn covers |
| Upholstery thread | Durable, long-lasting seams | High-stress edges |
| Foam-safe adhesive | Bond foam patches without damage | Memory and foam cores |
| Patch kit (vinyl) | Fast puncture fixes | Air beds and guest use |
Step-by-step: how to repair mattress fabric
This section lays out a step-by-step plan that keeps the work neat and safe.
Prep the area: mark the exact spot, clean with mild detergent or isopropyl alcohol, and let it dry completely. Good surface prep makes adhesives bond and stitches hold longer.
Stitching tears
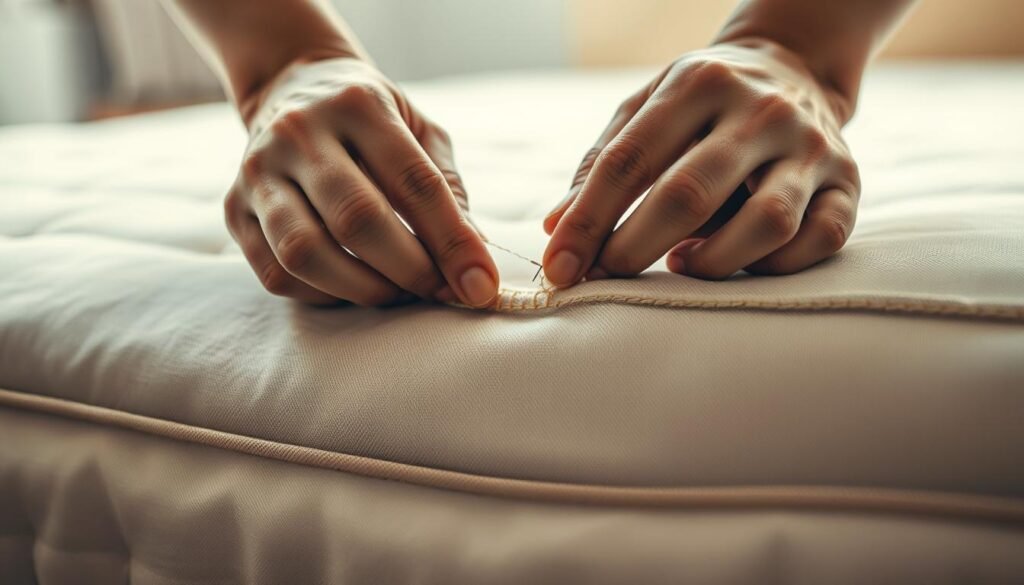
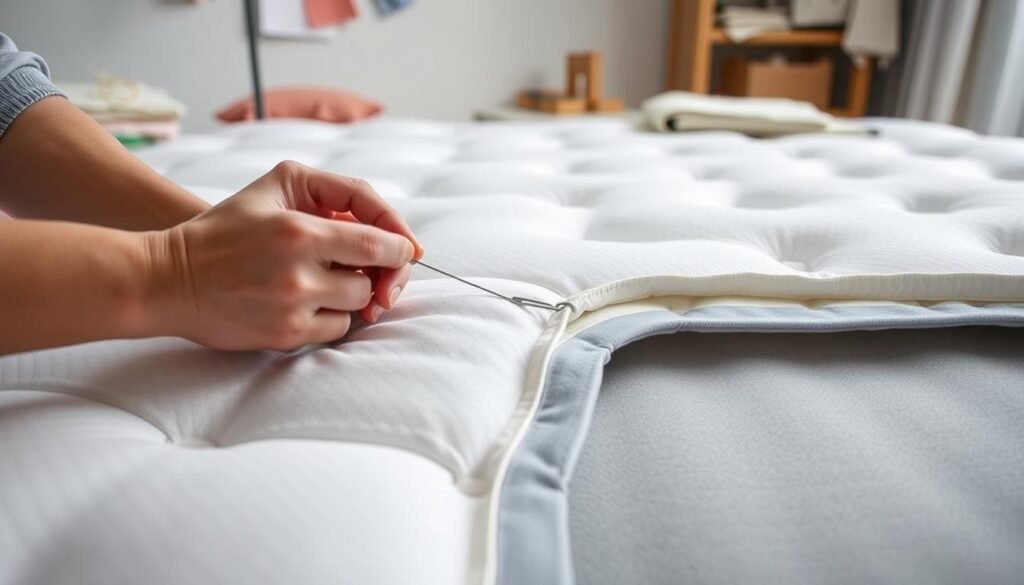
For straight tears, use a heavy-duty needle and upholstery thread with a whip or ladder stitch. Keep stitches tight and evenly spaced. End beyond the tear and backstitch to lock the seam.
Patching and placement
Cut a patch that overlaps by at least 0.5 inch on all sides and round the corners. Apply adhesive lightly to both surfaces, place the patch, and smooth out bubbles.
Adhesives and cure time
Use foam-safe or fabric-appropriate glue. Apply steady pressure with a cloth and weight during curing. Allow full dry time before testing support and comfort.
| Step | Action | Why it matters |
|---|---|---|
| 1 | Mark and clean area | Removes oils for better adhesion |
| 2 | Stitch small tears | Prevents widening and restores seam |
| 3 | Patch holes and cure | Creates a durable surface and restores comfort |
Repairing memory foam mattresses without sacrificing comfort
We focus on restoring memory foam comfort while keeping the mattress contour intact.
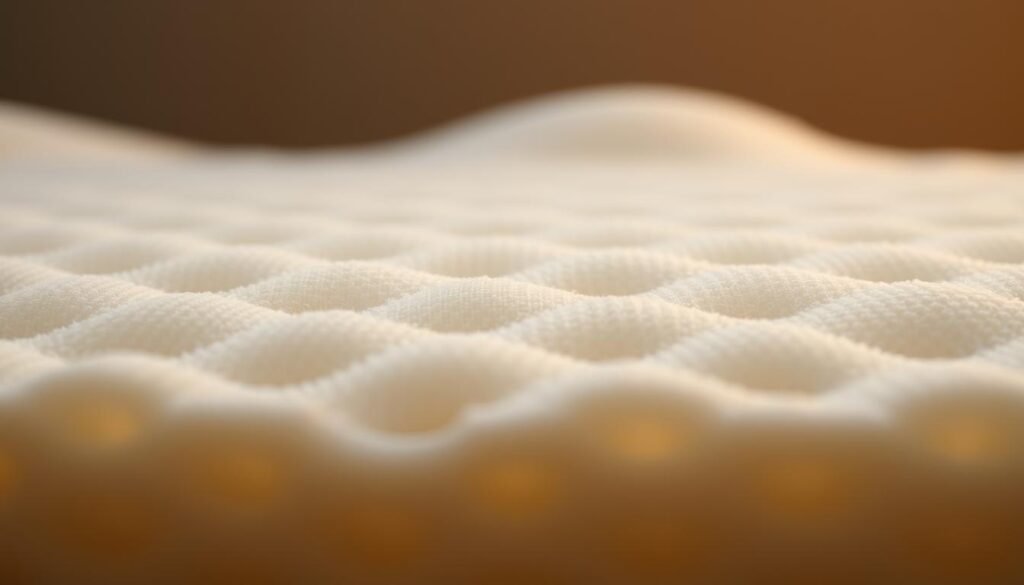
Cut-and-fit foam patching and foam-safe adhesive
We trace the damaged cavity and cut a matching piece slightly larger than the void. The oversized edge lets the patch compress into a snug fit and prevents gaps.
Use a foam-safe adhesive and spread a thin, even coat on both surfaces. Press firmly, align the patch, and hold until the bond begins to set.
Leveling, support checks, and settling time after repair
We shave or feather edges if needed so the surface stays level and preserves contour and comfort. Avoid early testing; allow full curing to prevent dips or high spots.
- Lie on the repaired zone for 1–2 minutes to verify hips and shoulders are cradled evenly.
- Note any minor firmness changes; these usually mellow after a few nights.
- Consider a thin topper while the patch fully integrates if feel feels uneven.
| Step | Key point | Timing |
|---|---|---|
| Cut | Oversize patch for compression fit | Immediate |
| Bond | Thin, foam-safe adhesive layer only | Hold until tacky |
| Settle | Check support after full cure | Wait recommended cure time |
For deep or widespread foam failure, we may recommend professional assessment or replacement. After curing, add a protector to reduce future wear and keep the sleeping surface clean without changing breathability.
Fixing ripped air mattresses and flocked fabric sides
When an air bed shows a slow leak or a torn flocked side, a focused process gets the unit back in service fast.
We inflate the air mattress, mist soapy water across seams and surfaces, and watch for steady bubbles. Mark the exact area, then fully deflate the mattress before any bonding work.
On flocked panels we lightly sand to remove the fuzzy layer and expose the smooth vinyl. After sanding, wipe the area with mild soap or isopropyl alcohol and let it dry.
Patch choices and application
We prefer the included patch kit for convenience. A DIY vinyl patch from pool liner or a heavy shower curtain also works. Cut the patch at least 0.5 inch larger than the hole on all sides.
Apply adhesive to both the patch and the mattress surface. Press firmly for about one minute, cover with a cloth, and weight the area for several minutes. Wait the kit’s recommended time before reinflating and testing with soapy water.
Temporary fixes—superglue, Amazing Goop, hot glue, heavy tape, or gel nail polish—can hold overnight but are not a long-term solution. Avoid bicycle tire kits; rubber cement often fails on PVC and vinyl.
| Patch option | Material needed | Durability | Typical set time |
|---|---|---|---|
| Included patch kit | Precut vinyl patch, adhesive | High if applied correctly | 30–60 minutes |
| DIY vinyl patch | Pool liner or shower curtain, vinyl glue | High with proper prep | 1–2 hours |
| Temporary fix | Superglue, duct tape, or gel polish | Low; short-term | Immediate but short-lived |
| No-sand on flock | Not recommended | Poor bond | N/A |
Remember that cold weather can mimic a leak, and built-in pumps sometimes drip slowly. After the recommended wait, reinflate and recheck the area with soapy water. Store air beds cool, avoid overinflation, and keep pets and sharp objects away to reduce future damage.
Finish, test, and protect: making sure the repair holds
We wrap up by giving the work the time it needs and confirming the bed is safe for sleep. Let adhesives and patch kits cure fully and keep steady, even pressure on the repaired area when the product recommends weighting. Proper cure time helps the bond resist lifting once the bed is in use.
Let adhesives cure fully before use and recheck for leaks
For air units, fully reinflate and test the patch edge with soapy water. Look for tiny bubbles that reveal a micro-leak and address them before routine use. For foam and sewn covers, press gently on the patch and check the bond by feeling for lift or separation.
Restore comfort: test support, add protector, and replace sheets
Lie in your usual sleep position for a few minutes and note comfort and support. If the surface feels uneven, allow more cure time; temperature and humidity can extend set time.
- Set a realistic cure time and keep light, even pressure on the repaired area.
- Retest an air bed with soapy water around the patch edge for micro-leaks.
- Add a mattress protector to block spills and reduce friction without changing feel.
- Replace sheets carefully, avoiding tugging across the repaired spot.
- Confirm the bed frame or foundation gives even support so stress isn’t focused on the repair.
- Check again after 24 hours; early use can expose edge lift or loose thread that’s easy to fix.
| Check | Action | Why it matters |
|---|---|---|
| Cure time | Wait recommended interval | Ensures adhesive reaches full strength |
| Leak test | Soapy water for air patches | Finds tiny leaks before regular use |
| Comfort test | Lie in usual position | Validates support and feel |
Keep your mattress in shape and know when to bring in a pro
Our closing advice focuses on routine checks and clear signs that it’s time for professional help.
Do monthly inspections for small tears, edge scuffs, and loose thread. Use a quality protector, rotate the bed if recommended, and confirm your frame gives even support to extend life.
Keep an air mattress cool and dry, avoid bicycle repair kits, and rely on dedicated vinyl patches and careful prep. If a cover may contain fiberglass, stop and contact the maker for guidance.
Follow warranty steps: review terms, gather receipts and photos, and submit a clear claim. Call a pro when tears grow, foam collapses, or a ripped mattress cover raises safety concerns.
Quick checklist: inspect, clean, use a patch kit for small fixes, allow cure time, protect, and recheck sleep comfort. These steps help keep mattresses working and protect your sleep.

